Homemade Chokecherry Jelly

Make a rich, earthy jelly by foraging for wild chokecherries in dusky grouse country
Given their name, many folks incorrectly assume that chokecherries are unpalatable. Truthfully, they’re not totally wrong. Raw chokecherries, while edible, are remarkably astringent. I’ve even tricked my little brothers into eating raw chokecherries and laughed at their puckered faces. After they spat them out, I explained that chokecherries taste much better with sugar. Then, I lovingly shared a jar of homemade chokecherry jelly with them.
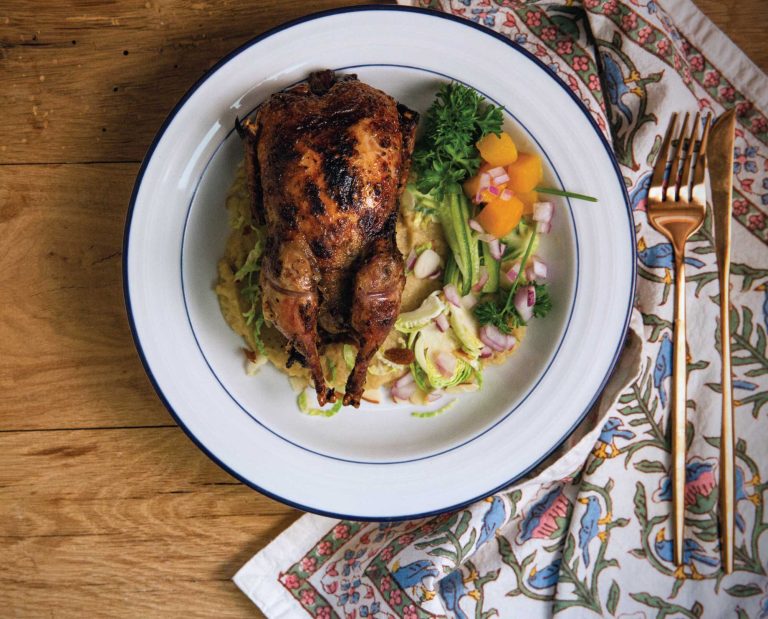
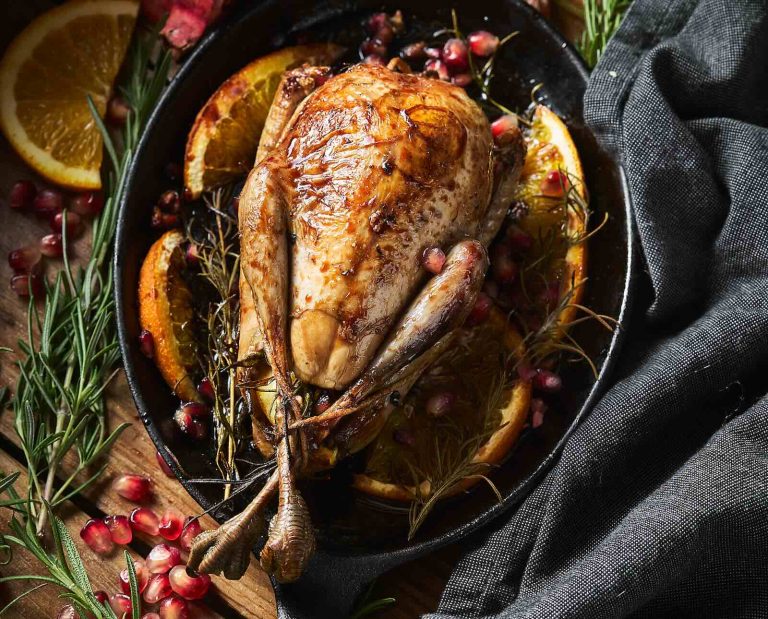
Chokecherry jelly has a rich, deep, vibrant flavor. It shines on top of sourdough toast, as a glaze over roasted fowl, and on vanilla ice cream. I’m known to eat it by the spoonful while standing in front of the refrigerator. Regardless of how you enjoy your jelly, it’ll taste far better than anything store-bought because of the time and effort you invested in it.
From identifying chokecherry bushes to boiling berry juice, making homemade chokecherry jelly (or syrup!) is time-consuming, yet simple.
Identifying Chokecherries
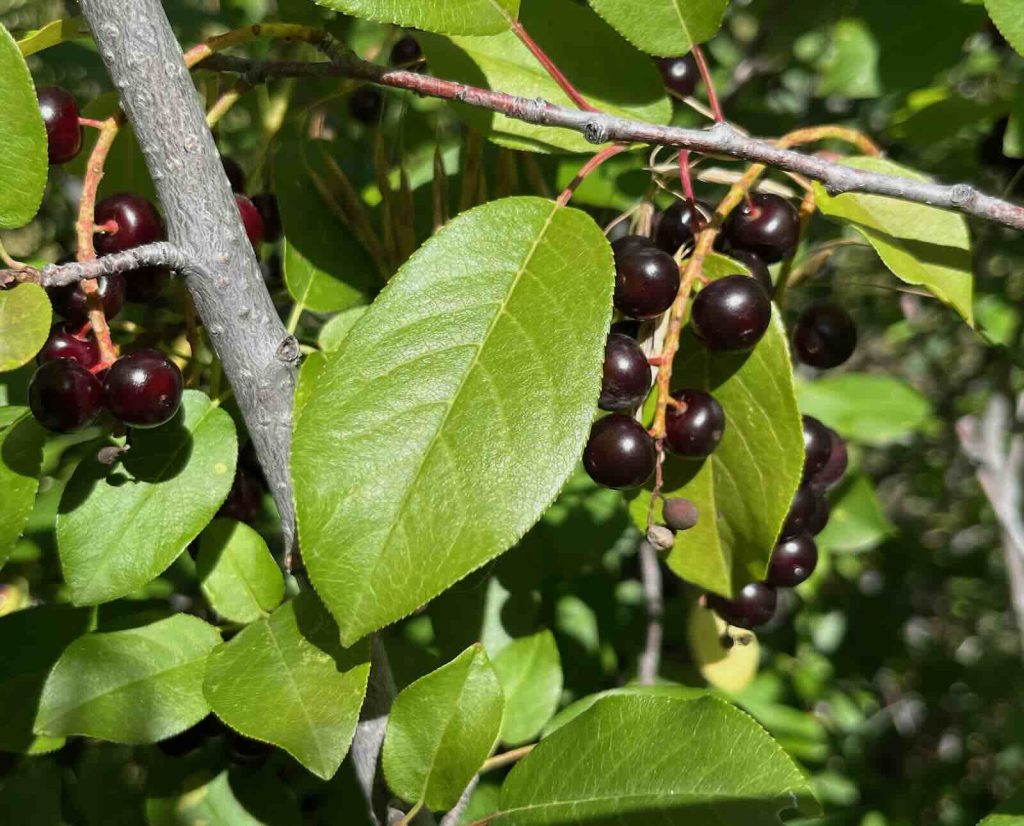
To get started, you’ll want to locate several stands of chokecherries (Prunus virginiana). Where I live in Colorado, I frequently find them in dusky grouse habitat on public land.
Chokecherries are easy to identify and difficult to confuse with any other plant. Look for shrubby, 5-10 foot tall woody plants with serrated leaves. In the spring, chokecherries have clusters of five-petaled white flowers stemming from racemes. In the fall, berries drip off these same racemes. Unripe berries are bright red and sometimes whitish. Ripe berries range from deep reds to nearly black.
Each chokecherry patch will ripen at different times. This staggered timing means you’ll want to hit some of your berry patches before others. Keep a close eye on them; it can be challenging to beat the wildlife to the ripe berries. I always leave a good portion of ripe berries, usually the ones beyond my immediate reach, for the critters, too.
Tips For Making Chokecherry Jelly or Syrup
Once you’ve collected as many berries as you can handle, weigh them. Jelly-making is a ratio-based process, and it’s important to get the measurements right. Every wild bush is different, and different berries produce varying amounts of juice. But generally speaking, six-ish pounds of berries yields four-ish cups of juice. Four cups of juice is the perfect amount for a small batch of jelly.
To simplify things, 1 lb of berries typically yields ⅔ cup of juice.
For example, my brother and I picked 14.4 pounds of berries this year. I multiplied my 14.4 lbs by 0.66 cups. I estimated I’d end up with 9.6 cups of juice. I also knew I’d need 9.6 cups of sugar to satisfy my preferred 1:1 juice-to-sugar ratio. I’m happy to report that my estimations were correct.
Chokecherry Syrup
What happens if your ratios are off? You’ll probably end up with syrup. Chokecherry syrup is still delicious, especially on top of chocolate chip pancakes.
Your jelly can also become syrup if you don’t boil the juice and sugar long enough. At sea level, jelly will form after being boiled to 220 F. For every 500 ft in elevation, that temperature drops one degree. I live at 7,700 feet, so I boiled my juice and sugar to 205 F.
One final tip to avoid making syrup is to add pectin. Wild chokecherries are naturally quite high in pectin, so it’s not necessary to add the commercial product. However, if you’re like me and tired of accidentally making syrup, consider adding it.
This year, I added ½ tsp of pectin per 1 cup of juice, which was less than half of what the pectin jar’s directions recommended. I’m glad I did; because of the natural pectin, my jelly is still velvety, but that sprinkle of the commercial stuff helped it solidify. Once my jelly solidifies, I store a jar in the fridge and the rest in the freezer.
Ingredients
Equipment
Method
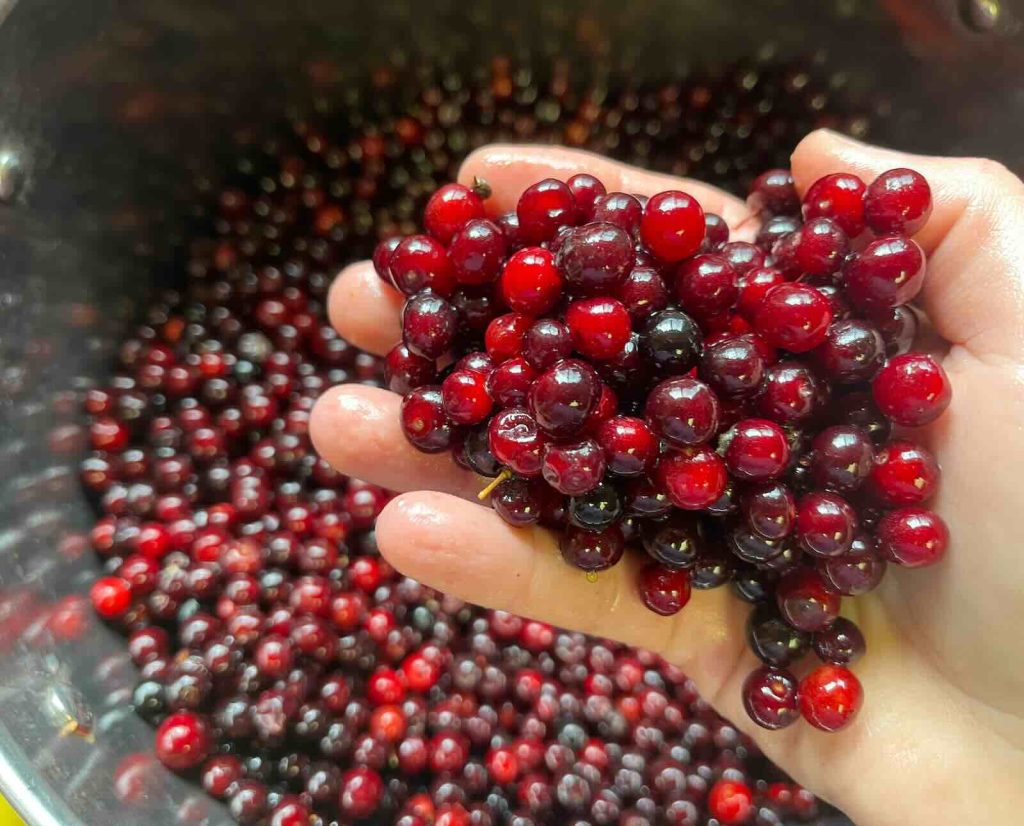
- Clean your chokecherries. Remove stems, leaves, bugs, twigs, and other debris from your berries. Rinse the berries well, removing dust and dirt, especially if your berries grew next to a road.
- Make chokecherry juice. Place your berries in your jam pot along with 1.5 cups of water. Bring it to a simmer. Cook the berries for 30-45 minutes, stirring occasionally and mashing them until they release all their juices.
- Strain the juice mixture. Set your fine mesh strainer over another large pot and spoon the berry mixture into the strainer. If you want a clear jelly, allow gravity to pull the juice into the pot; don’t squish any berries. If you don’t mind cloudy jelly and prefer to get every ounce of juice available, squeeze your berries through the cheesecloth over the strainer. Personally, I like to squish the berries while wearing nitrile gloves without using cheesecloth. I think it’s more effective than using cheesecloth, and the gloves keep my hands from getting stained.
- Measure your strained juice. If you started with 10 lbs of berries, you’ll likely have about 5 cups of juice. Place the measured juice into the jam pot and add at least 2.5 cups of sugar. You can add up to 5 cups of sugar, depending on how sweet you want your jelly to be. Taste the juice to see if you’d like more sugar after adding 2.5 cups.
- Bring your juice-sugar mixture to a boil over medium-high heat. Stirring frequently, continue to boil it until it comes to temperature. Because of my elevation, I removed my jelly from the heat when it reached 205 F. It took about 30 minutes for it to reach 205 F.Your jelly will bubble aggressively as it reaches your ideal temperature. Be careful not to let it boil over. Additionally, the near-temp bubbling looks different from the initial boiling. Look for this change in bubbling characteristics to avoid removing your jelly from the heat too soon, in which case, you’ll end up with syrup.
- Test the readiness of your jelly by dripping a bit of it onto a plate that’s been in the freezer. If the drops keep their shape and don’t run after 30 seconds, it’s entered the gel stage. If your drips run, your mixture is still in the syrup stage.
- When your jelly reaches the gel stage, pull it from the heat and let it cool. While it’s still warm but not hot, pour it into your 12 oz glass jars. If you plan to freeze your jelly, leave an inch of space at the top of your jar.
- Refrigerate, freeze, or can your jelly. It will last several months in the refrigerator and indefinitely in the freezer or a sealed can.